Getting Started with vBoxxCloud
After signing up for vBoxxCloud, you will receive an email containing your login credentials.
Click on Login or the link web.vboxx.nl to access your vBoxxCloud account.
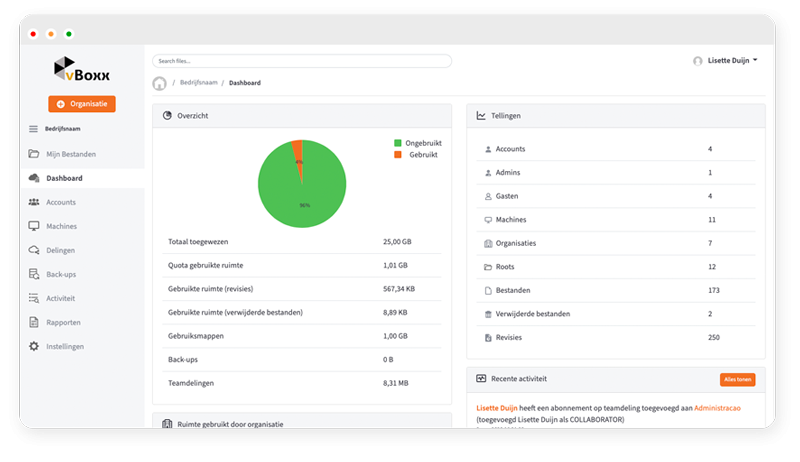
Enter your username and password and click Login. You will then arrive at the User Dashboard of vBoxxCloud, where you can see an overview of all activities in your environment. But first, let's change your password.
At the top right of the screen, click on Account Name > Account Settings. Here you can change your personal details, changing the password is very straightforward here.
Organization
When collaborating with other users in vBoxxCloud, you, as an administrator, may want to establish various policies. To do this, go to Settings. Here you can adjust different settings for your organization:

- General: Change the organization name, describe a disclaimer, and fill in a contact email.
- Policies: Exclude specific files, allow users to lock files, let users change their passwords, utilize version control, and more.
- Email: Configure an email server and personalize email templates.
- Branding: Change the logo, icon, splash screen, and the terms and conditions of your organization.

Users & Administrators

3 types of users:
- Organization Admin: The organization admin can change all settings of the organization.
- User: Users can install the Sync Tool on their computer, tablets, and phones to synchronize Team Shares and personal folders. See more.
- Guest User: Guest users are free users who have access to specific files. They can only access files through the web interface.
Creating users:
To activate a user, click on Accounts and then +. In this menu, you can specify whether this user should have administrator capabilities or be a regular user.

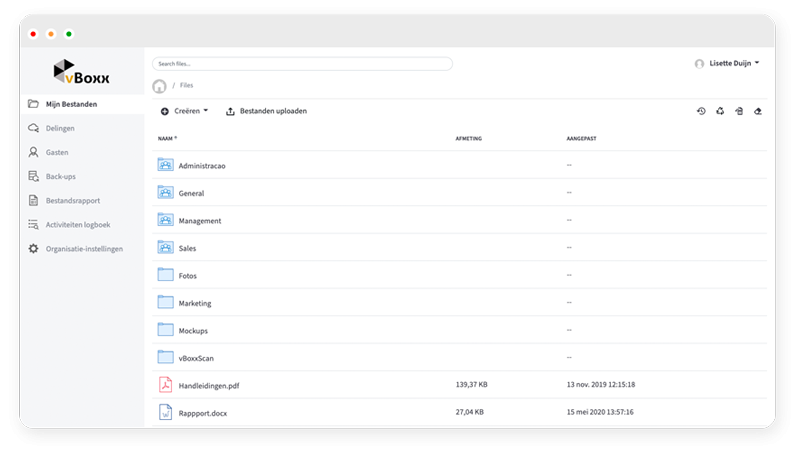
Folders
vBoxxCloud uses a clear folder structure. When you click My Folders at the top, you will see your folders and can create new ones.
2 types of folders:
Team Share: A Team Share is a folder where you can collaborate and share it with multiple people. This type of folder automatically synchronizes any changes or new information with the eligible users. For more information on Team Shares, click here
Regular Folders: A regular folder is a personal folder shared only with you unless you share it with someone else.
Below is the difference between Regular Folders and Team Shares.

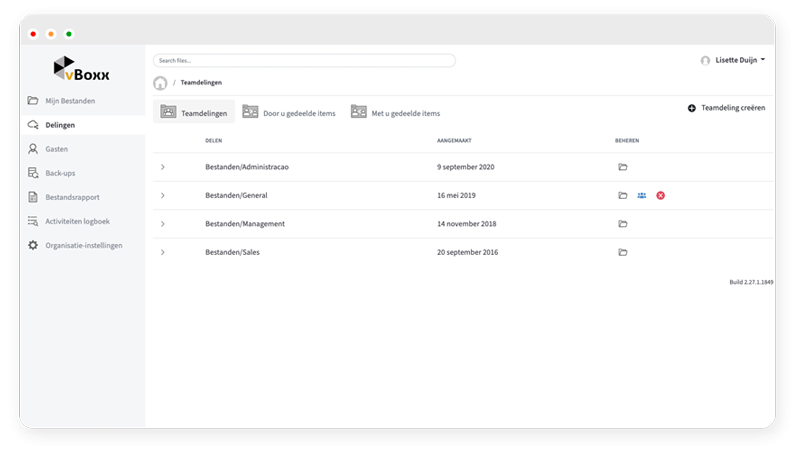
When creating a Team Share, go back to the organization menu (top left). Here, select Shares and click on +. Once the Team Share is created, you can add users so that the folder is synchronized with their devices. To add users to the Team Share, click  .
.
To create a regular/personal folder in the web interface, click on My Files My Files and go to Create.

Share a File or Folder
![]()
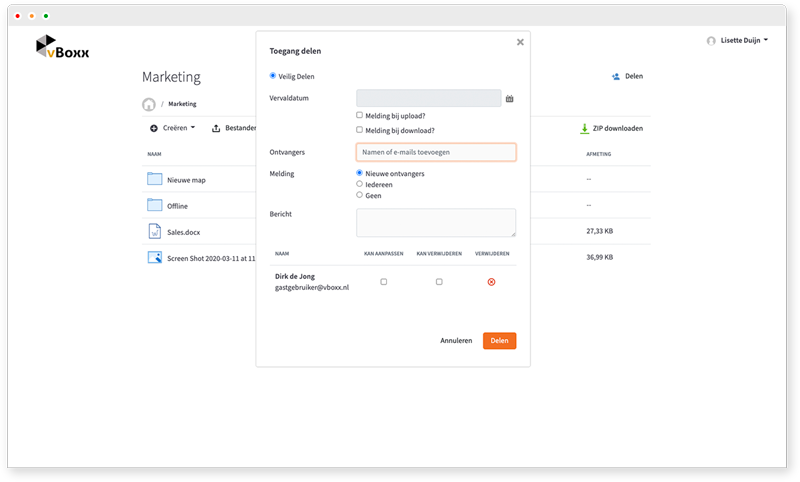
To share a file or folder, right-click on the desired file.
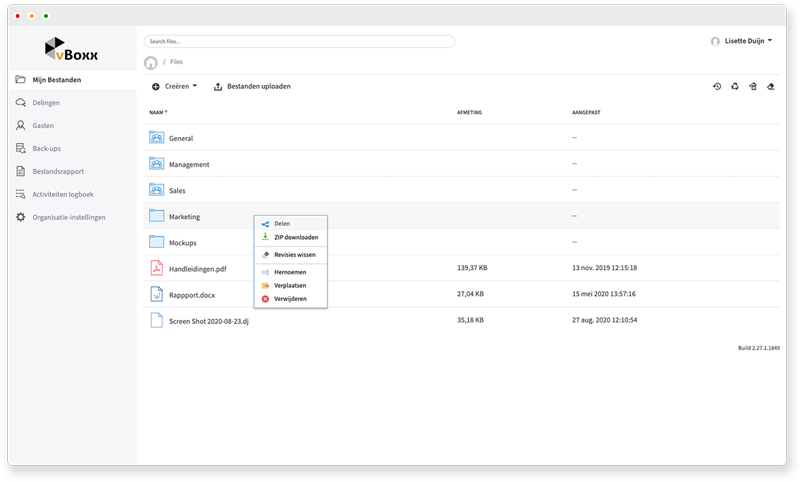
When you click on 'Share link', a menu appears. In this menu, you can adjust the sharing settings. Enter the recipient's email address. If the email address is not in the system, a Guest User will automatically be created.
When sharing a file, you can:
- Set an expiration date.
- Receive notifications when a file is uploaded or downloaded.
- Add a personal message.
- Specify whether the user can upload or delete files.
Sync Client

The Sync Client is an application that synchronizes your files across different devices. All folders in your vBoxxCloud account are automatically synchronized, for example, with your computer. This way, you always have your files at hand.
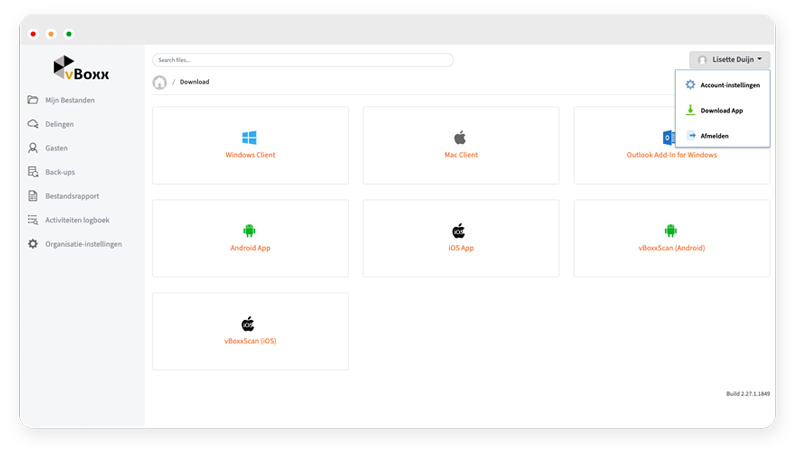
To install the Sync Tool, log in to your vBoxxCloud account via web.vboxx.nl. Click on Download vBoxx Sync App and select the desired application.
Once the file is downloaded, open the Sync Tool Installer.


Click Next and enter your login details. Then click Next and choose Typical. Now click Next and finally Finish to complete the installation.
Now you can open the Sync Tool in Windows and have direct access to your vBoxxCloud files. The default location of vBoxxCloud is: C:\Users\name\Sync Folder
- In the Sync Tool, you will find all folders in your vBoxxCloud account.
- Everything placed here will automatically be synchronized with your vBoxxCloud.
- The small green icon,
 indicates that all folders are up-to-date and correctly synchronized.
 - The blue icon,
 indicates that the Sync Tool is currently synchronizing files.
 - To create new folders, simply right-click on an empty space and select Create New Folder.